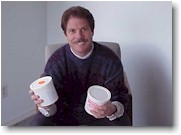
There is only one way to mix Magic Sculp properly.
After you open your Magic Sculp up, you might be hit with a strong smell. This smell will dissipate quickly after it is open. We don't want people eating Magic Sculp.
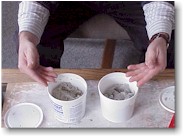
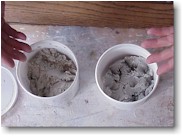
You will notice that the color of the Hardener is greenish and the Resin is a light gray.
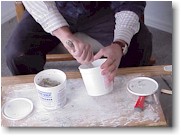
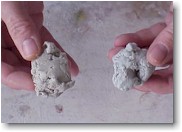
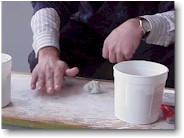
Take out only that amount you will be able to sculp with before it gets hard.
Take out equal amounts of Hardener and Resin.
Roll out into individual balls.
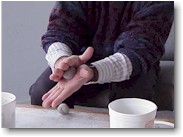
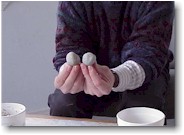
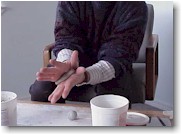
The reason for this is we want equal sizes. We are measuring volume not weight.
They do not have to be exact, close is good enough.
Next take the balls and form a cylinder shape with them.
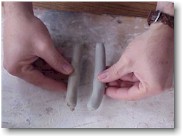
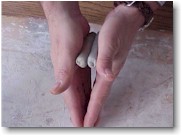

Take the two cylinder shapes and put them together.
Once together, start moving your hands back and fourth.
Your cylinder will lengthen because of this process.
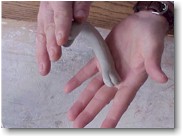
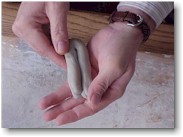
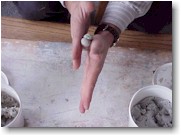
Just fold it in half.
Once you have folded it.
Repeat the process until all the marbling is gone. You are done mixing when you have one uniform color.
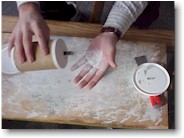
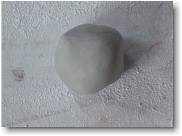
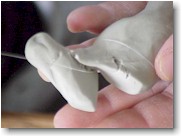
This process will causes friction and heat. Magic Sculp might become sticky. Talcum powder is great for preventing it from sticking to your hands and will not hurt Magic Sculp.
I let it sit for awhile after mixing it together. This lets it cool down and lose its stickiness.
Fishing line makes a great cutting tool.
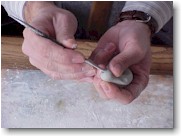
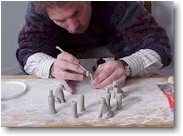
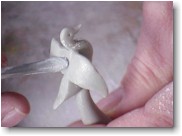
Pliability changes over curing time. Only working with Magic Sculp will you learn what you can do and can not do before it cures.
You can add to already cured Magic Sculp and you can smooth Magic Sculp with water.
Your imagination is the only limit when it comes to devising uses for Magic Sculp

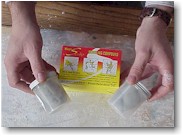
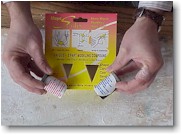
We sell Magic Sculp in 5 lbs, 20 lbs and 100 lbs Kits
You can also get it in 8 oz kits
Or 4 oz kits